How to Restore a Faded Vintage Car Dashboard
Understanding Dashboard Fading
Vintage dashboards from the 1960s through 1980s were made from vinyl, padded plastic, or early polymers that degrade under UV exposure. The result is cracking, discoloration, and that chalky faded look.
Assessment
- Light fading: Color loss without cracking - full restoration possible
- Moderate damage: Small cracks and fading - repairable with filler and dye
- Severe damage: Deep cracks, crumbling material - may need replacement
Materials Needed
- Vinyl and plastic cleaner (non-abrasive)
- Sandpaper (600-grit and 1000-grit wet/dry)
- Vinyl repair compound
- Vinyl dye or paint (color-matched to original)
- UV-resistant clear coat
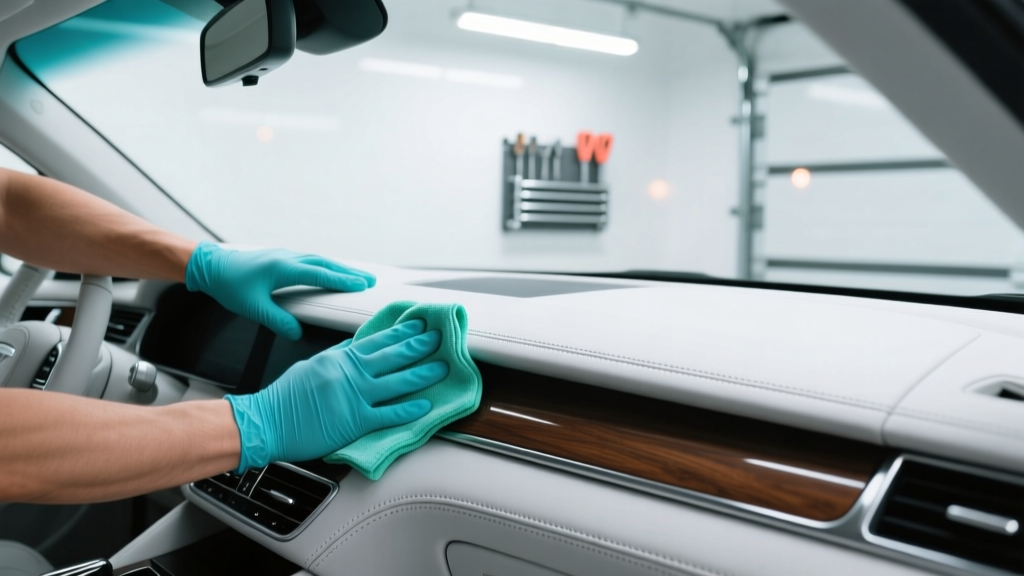
Step 1: Deep Clean
Remove decades of grime, old protectant buildup, and surface contaminants. Use a dedicated vinyl cleaner and a soft brush. Dye will not adhere to dirty surfaces.
Step 2: Sand and Smooth
Lightly wet-sand with 600-grit to create a smooth surface. Follow with 1000-grit for a fine finish. Fill any cracks with vinyl repair compound, let it cure fully, then sand smooth.
Step 3: Apply Color-Matched Dye
Use SEM or similar automotive vinyl dye. Apply in light, even coats—3 to 4 thin layers beat one heavy coat. Allow 15 minutes between coats.
Step 4: Seal and Protect
Once the dye has cured (24 hours), apply a UV-resistant clear coat designed for vinyl interiors. Follow with a quality dashboard protectant.
Prevention Tips
- Use a windshield sun shade every time you park
- Apply UV protectant monthly
- Consider a custom dashboard cover for long-term storage
- Garage parking is the single best protection